
Moving to Church Center
A Step-by-Step Guide for Making the Move from Realm to Church Center
STEP 1: Log into Church Center or create your account.
Regardless of whether or not you already have an account, the process for logging into Church Center is the same.
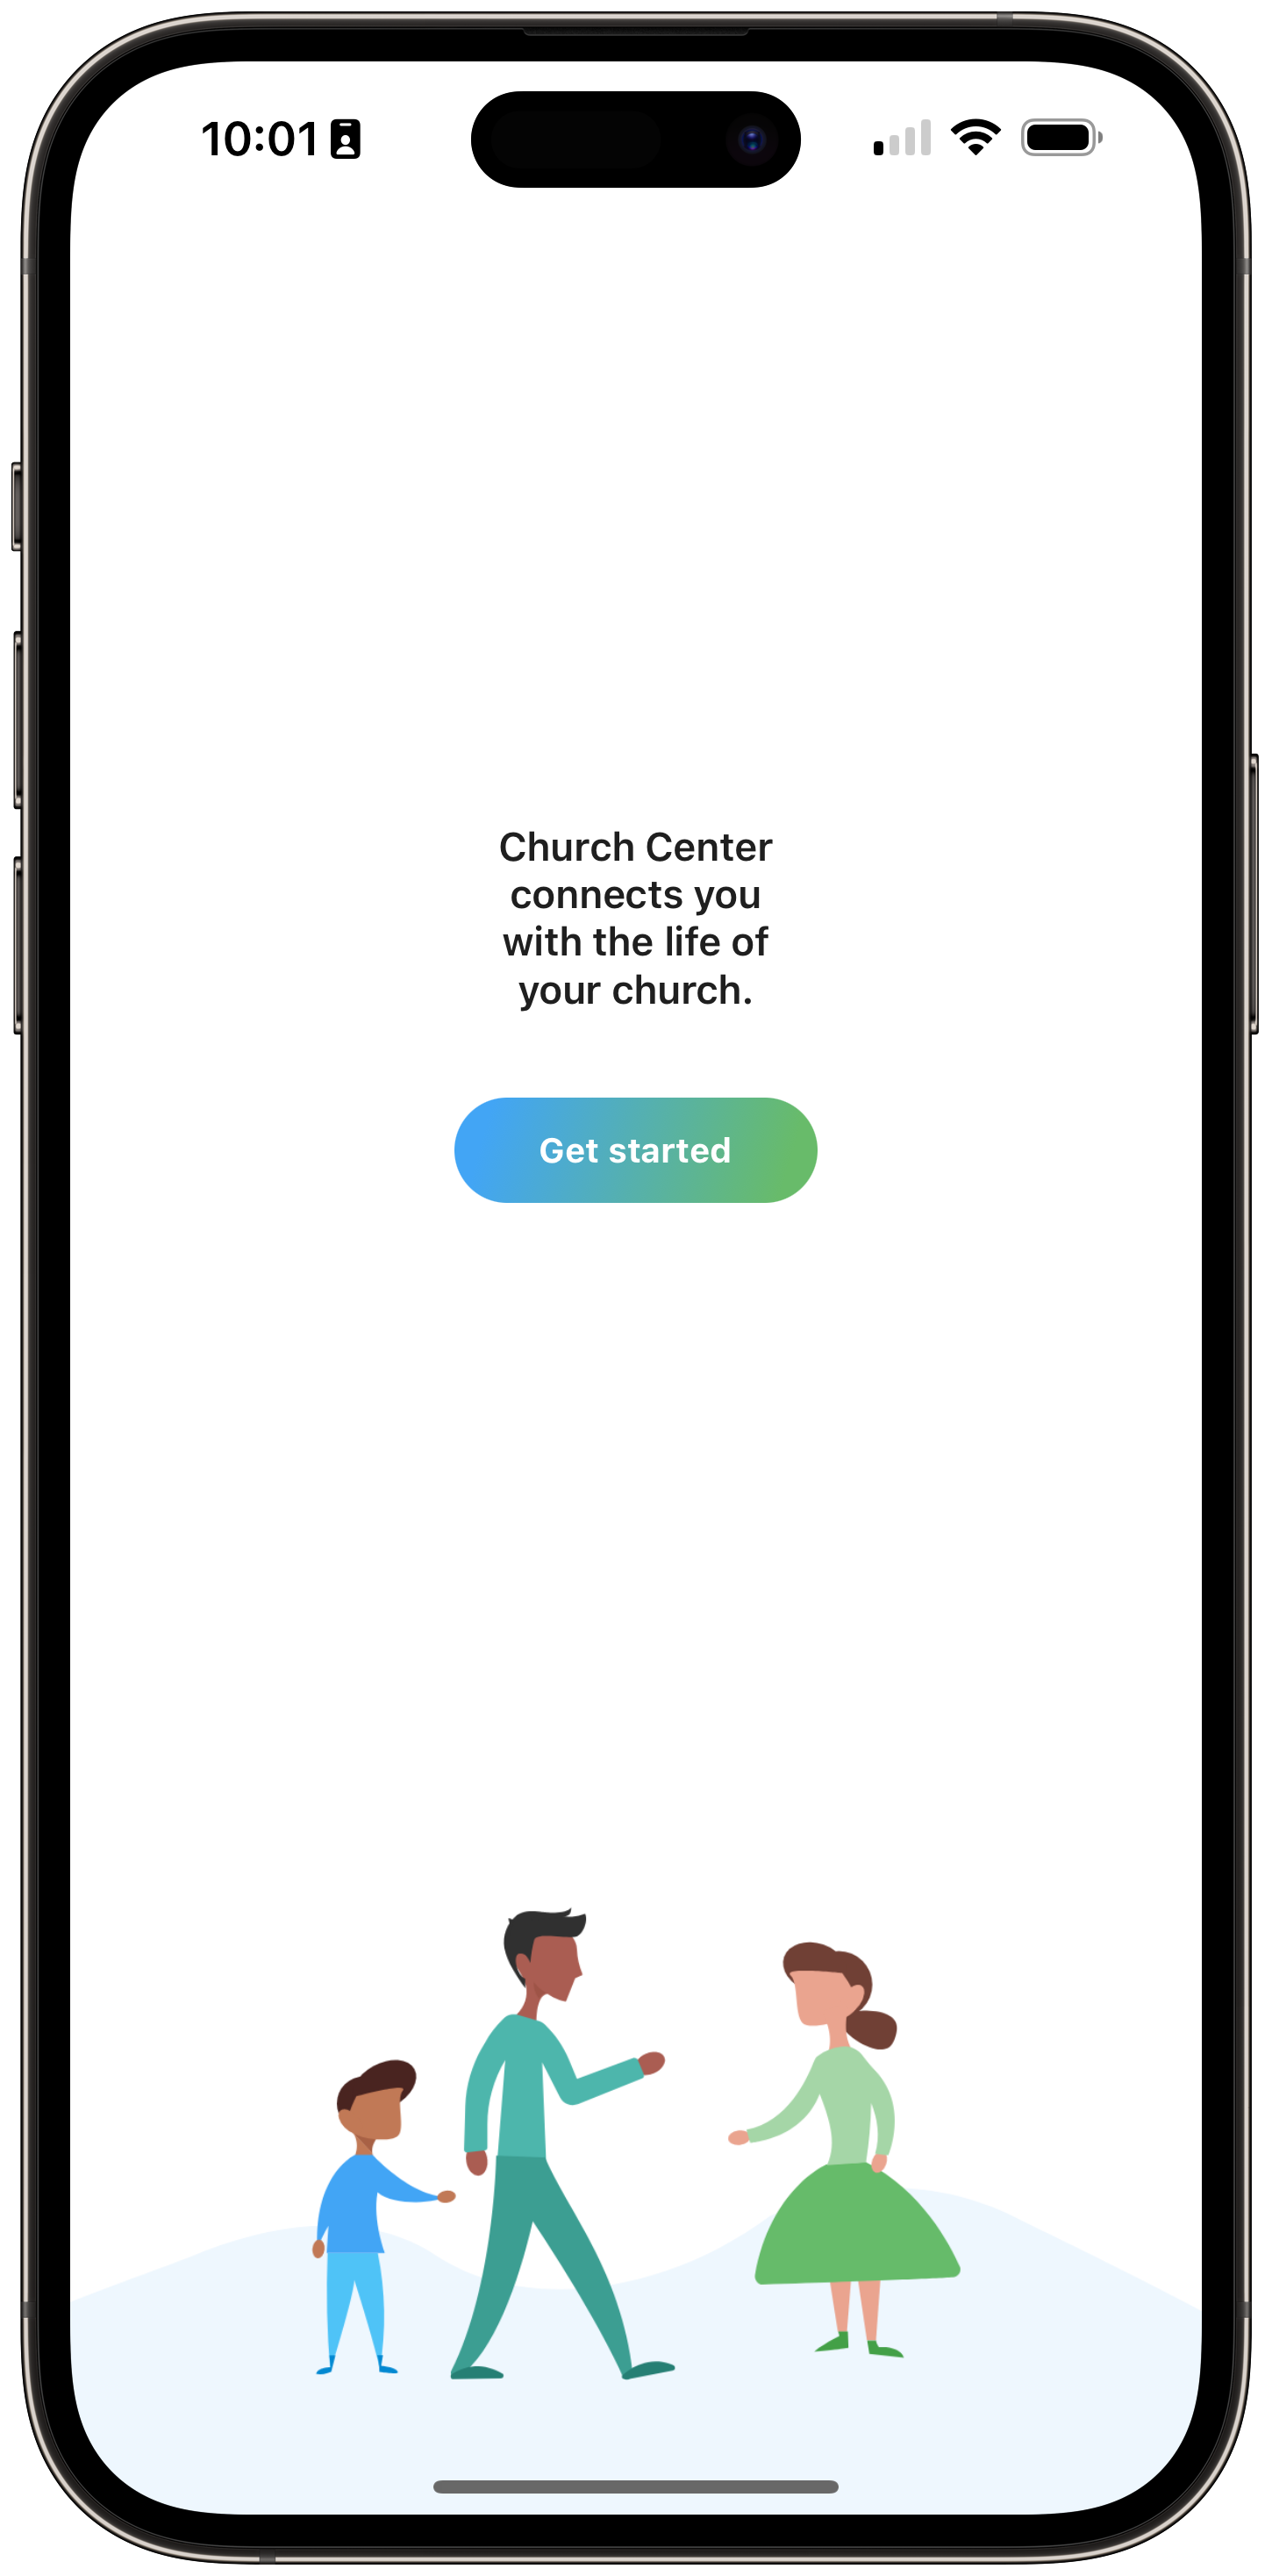
The process is simple and can be done via a mobile app (iOS, Android) or computer web browser (these instructions will follow the mobile app). Follow the onscreen prompts to:
Find 2 Pillars Church
Obtain your 6-digit login code via text message or email.
STEP 2: Check your contact and profile information.
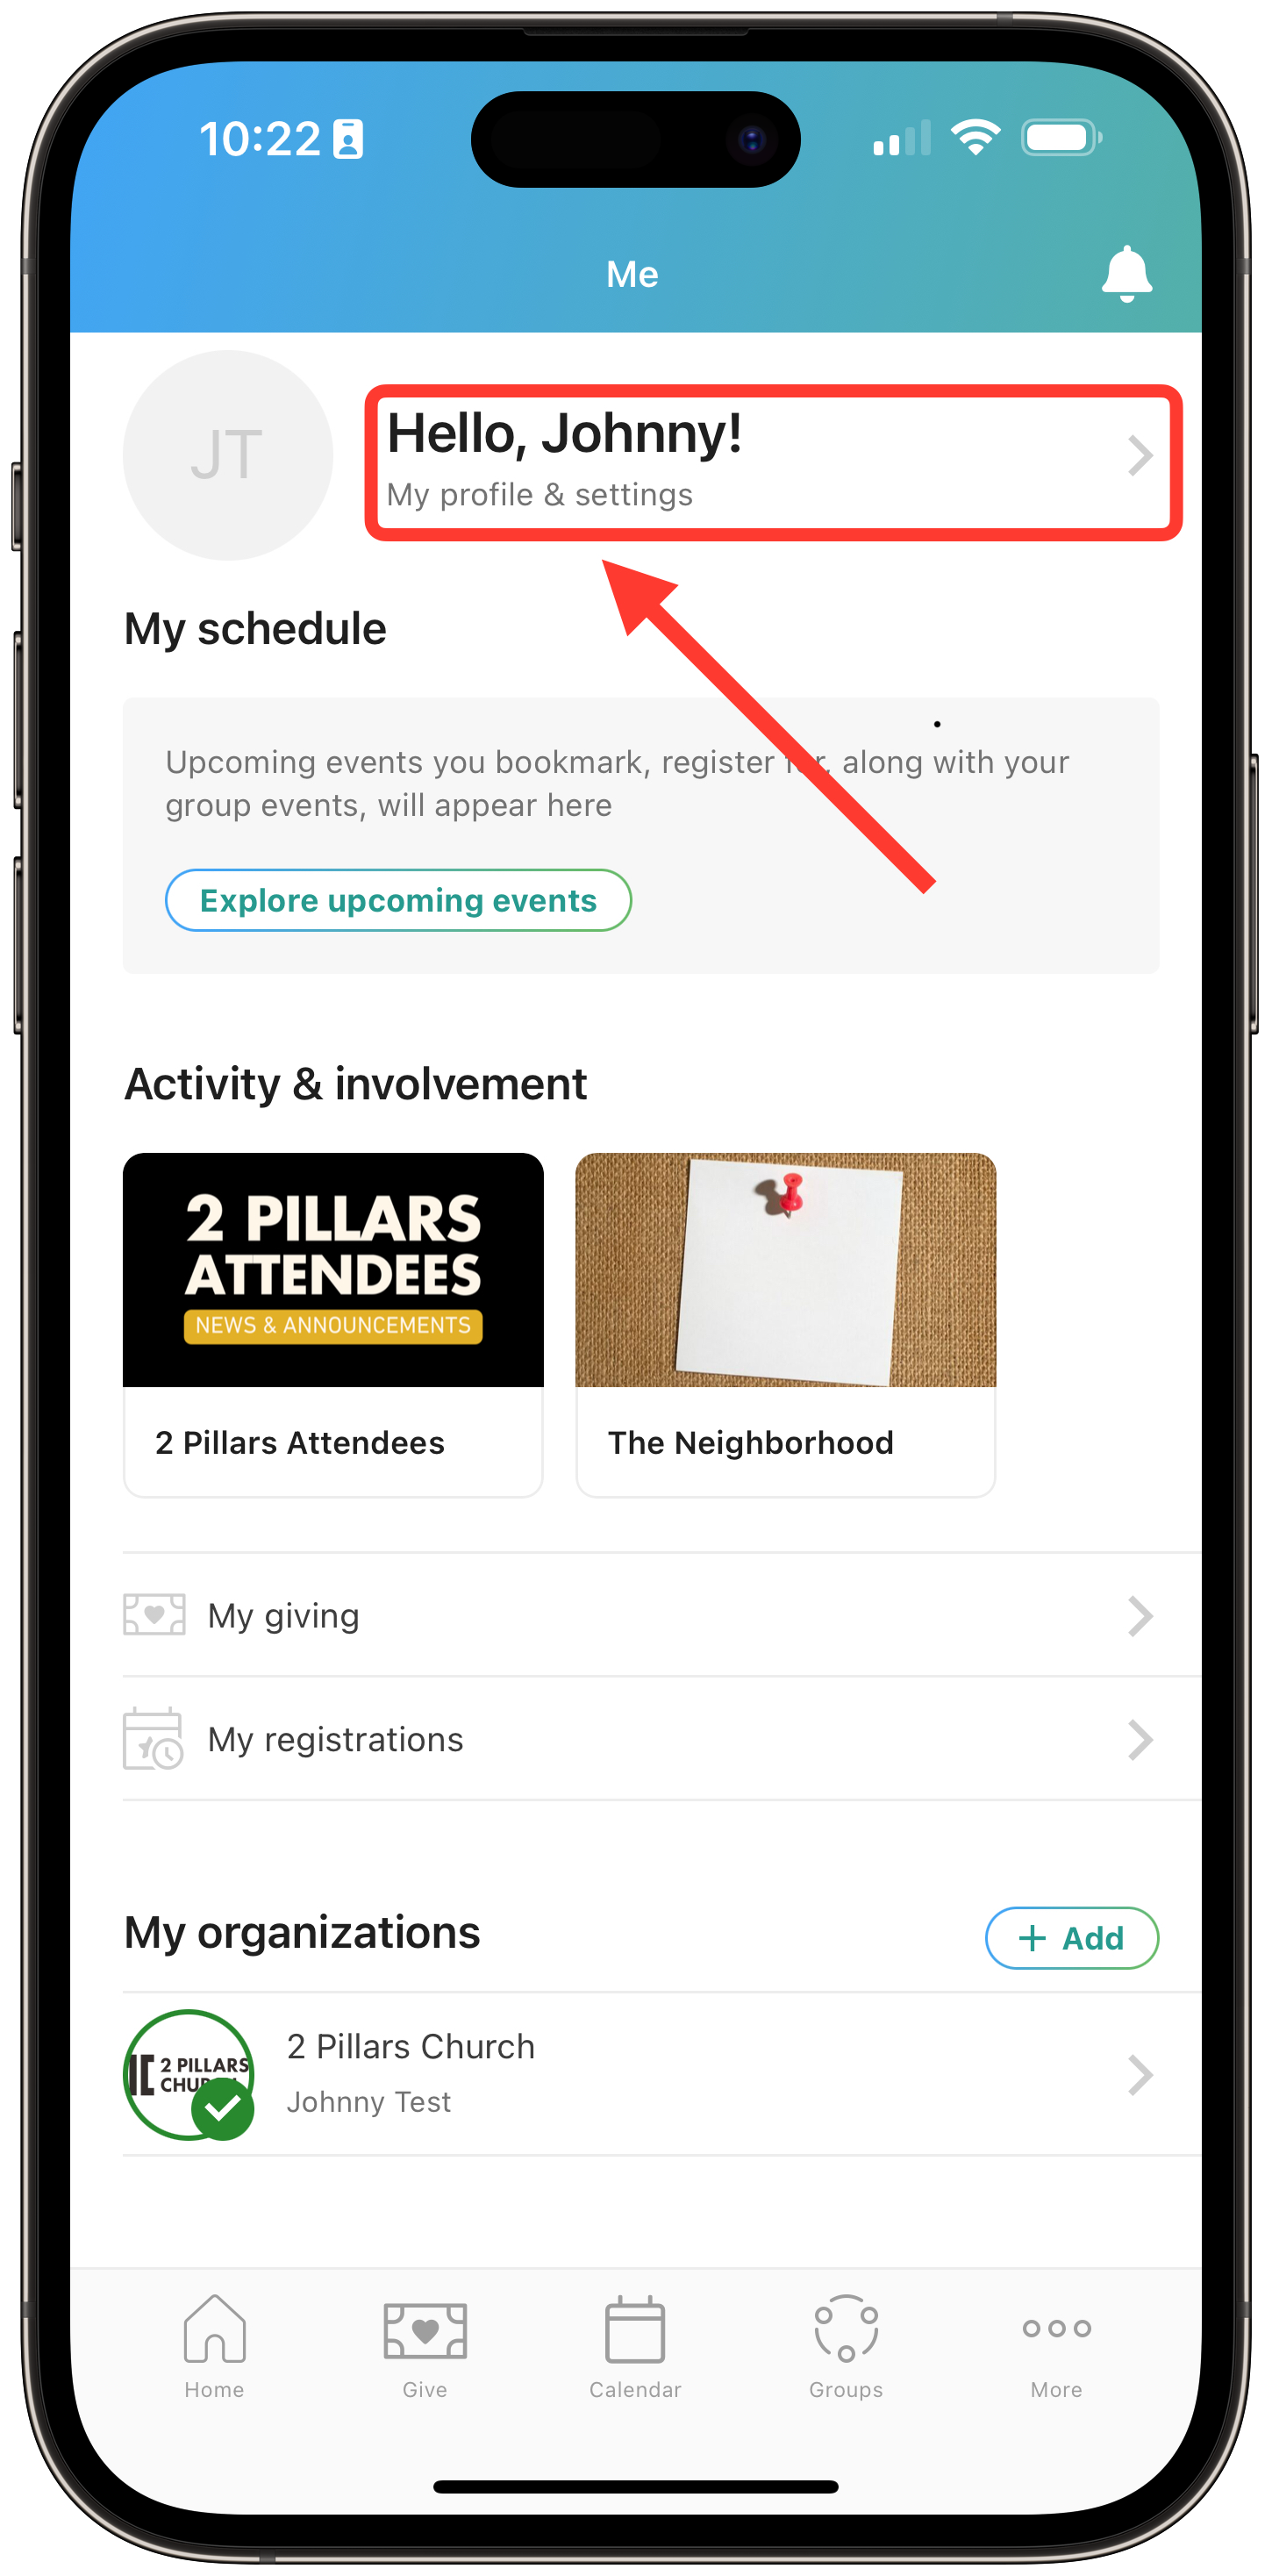
After you log in, you will be taken directly to your “Me” page.
Tap on “My profile and settings” at the top of the page, then on “Contact & profile information.
Please add or update your information:
Add a photo of yourself (it’s really helpful for those trying to learn names)
Email address: Please make sure you use an email address that you check on a regular basis.
Address: This will be used to send year-end giving statements, etc.
Date of birth
Medical notes: This is a great place to note food allergies and dietary restrictions for 2PC events.
Tap “Update” when finished.
STEP 3: Check your household members’ information.
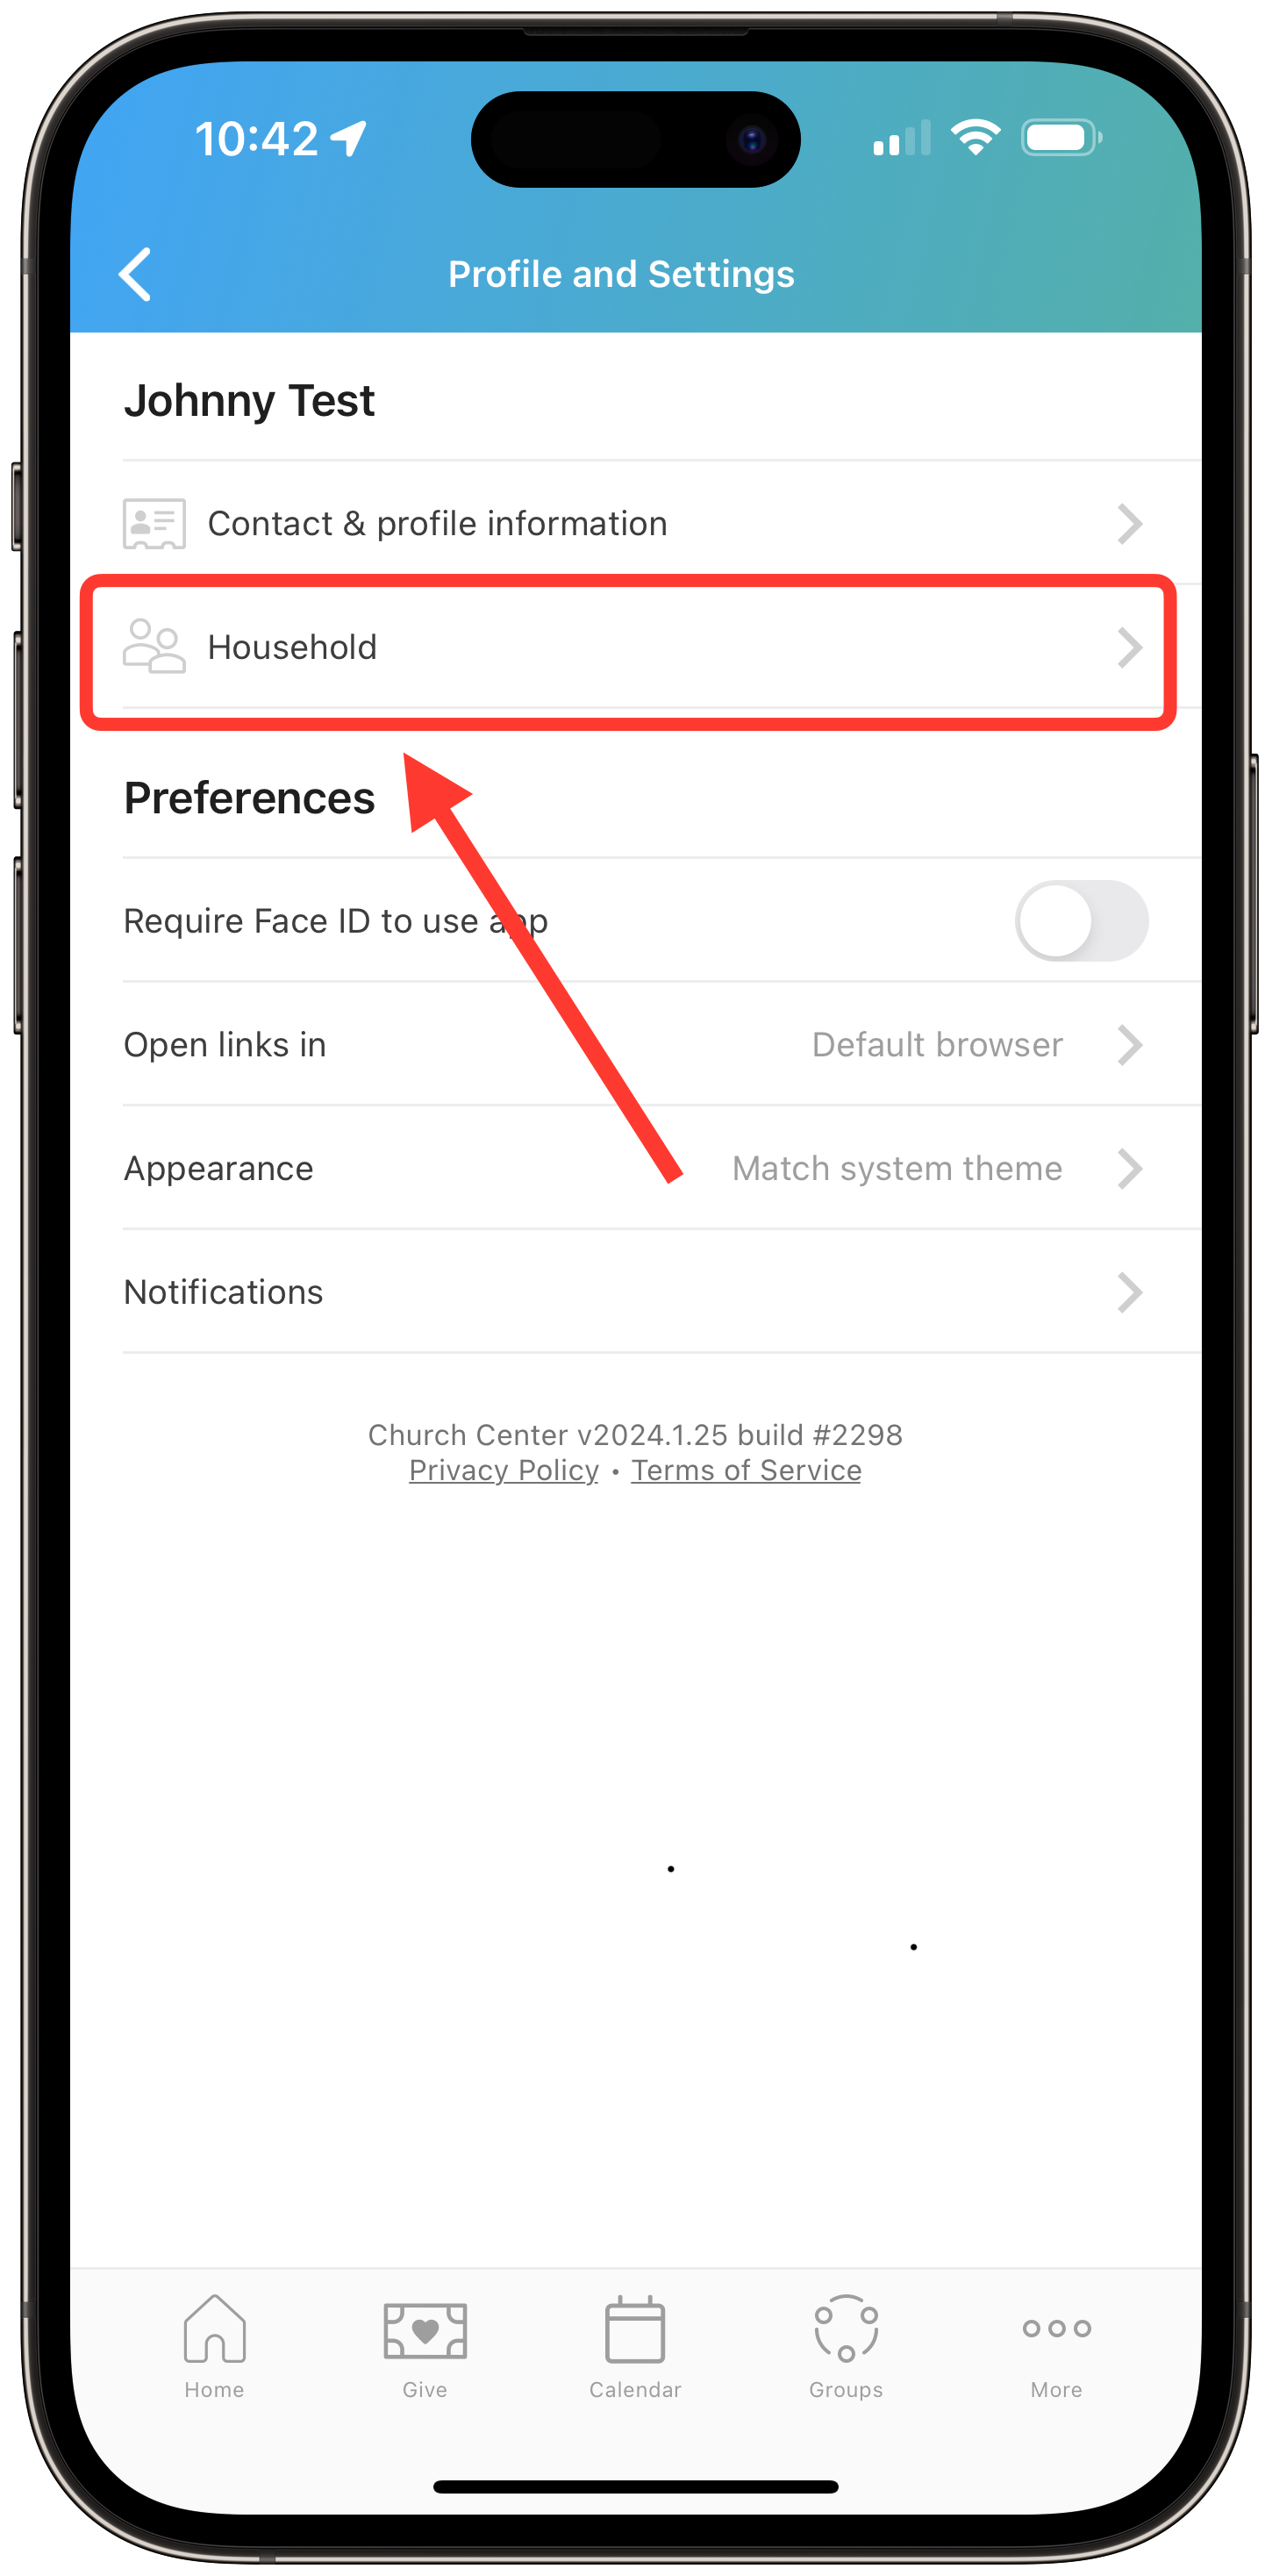
If you are married and/or have children, please check your household members’ information as well. If neither of these applies to you, then move on to Step 4.
Tap on “Household” on the “Profile and Settings” page.
Confirm all your household members are listed. If not, then please contact Adam.
If they plan to log into Church Center as well, then there is no need to update the profiles of other adult members of your household.
Please update child profiles, including:
Birthdate and Grade: This information is extremely helpful for our 2PC Kids and 2PC Youth leaders.
Medical Notes: This is a great place to note food allergies and dietary restrictions. The information here will be printed on 2PC Kids name badges on Sunday mornings for our 2PC Kids volunteers’ reference.
Tap “Update” when finished.
STEP 4: End online giving in Realm and set up in Church Center.
This step is only necessary for those who currently give online via Realm.
We are unable to transition giving information from Realm to Church Center, so this needs to be done manually be each individual giver.
To begin, end your giving in Realm Connect. You do this via the “Giving” tab on the left-hand side of the page.
Next, set up giving in Church Center using the “Give” page (contrary to the screenshot shown here, the link to the “Give” page has been moved to the “More” tab in the lower right-hand corner of the screen).
For more information about how to give online via Church Center, watch this short video.

STEP 5: Check your groups and confirm none are missing.

While old, inactive Realm groups have been left behind, your current, active groups should have been transitioned over to Church Center.
Tap on groups and take a look at the “My Groups” section. If you notice that one of your active groups from Realm is missing (your Gospel Community, for example), please reach out to Adam.
If you are the leader of a group and would like groups settings to be adjusted, feel free to reach out to Adam as well.
That’s it! You’re good to go. Look around and explore in Church Center! Note that we continue to work on Church Center, so you’ll notice changes, additions, and improvements over time. Check back regularly!
Questions and feedback can be sent to Adam. Please bear with us—we’ll work to respond to you as soon as we can.